3 Step Oreo Cookie Dump Cobbler Recipe
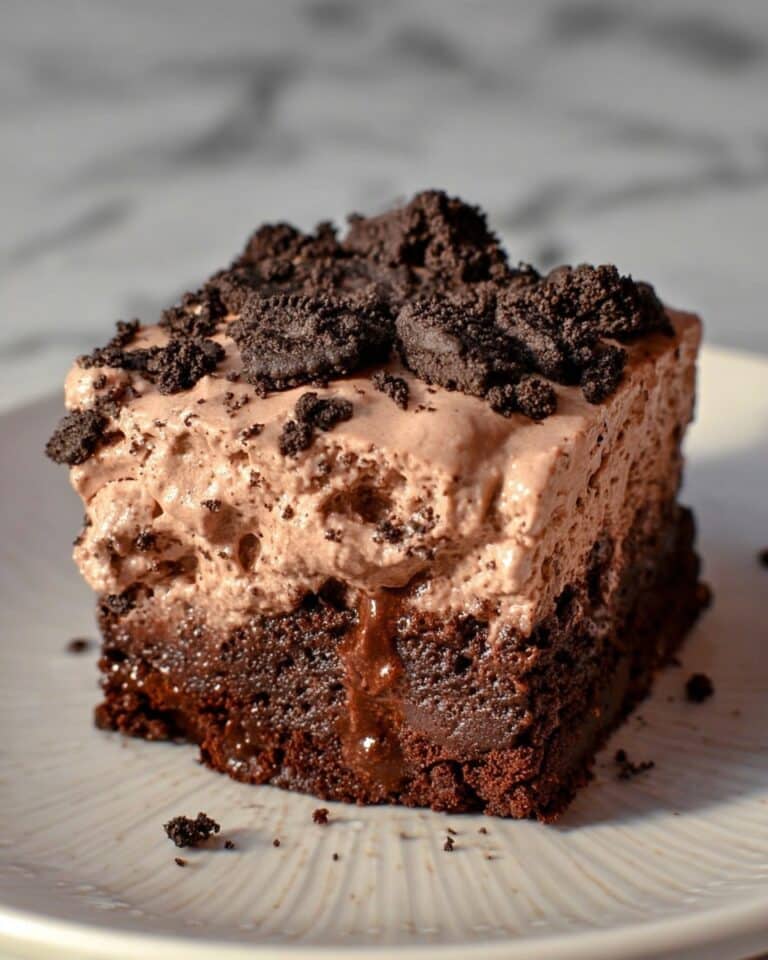
If you are on the lookout for a dessert that’s ridiculously simple yet utterly irresistible, the 3 Step Oreo Cookie Dump Cobbler is your new best friend in the kitchen. This cozy, gooey cobbler melds rich oreo flavor with a sweet, buttery crust and a luscious caramel-like sauce that bubbles up around each bite. It’s the perfect treat for weeknight indulgence or impressing guests without breaking a sweat. Trust me, once you make this 3 Step Oreo Cookie Dump Cobbler, it will become your go-to whenever you need an easy crowd-pleaser that feels like a warm hug in dessert form.

Ingredients You’ll Need
The magic in this 3 Step Oreo Cookie Dump Cobbler comes from a handful of simple, pantry staples that come together effortlessly. Each ingredient plays a vital role: the butter creates a golden, rich base, the Oreos bring that classic chocolate crunch, the sugars add sweetness and depth, and the self-rising flour ensures your cobbler has the perfect soft, cakey texture. Grab these straightforward ingredients and you’re halfway to dessert bliss.
- 5 tablespoons butter: Use real butter for the best flavor and melting quality, no substitutions here.
- 12 to 15 Oreos (crumbled): These add that unmistakable cookie crunch and chocolate taste.
- 1 and ½ cups self-rising flour: This makes the cobbler rise nicely without extra leavening agents.
- 3/4 cup whole milk: Whole milk adds creaminess and moisture to the batter.
- 1 cup granulated sugar: Sweetens the base batter evenly.
- 1 teaspoon pure vanilla extract: Vanilla enhances the overall flavor and adds warmth.
- 1 and ½ cups brown sugar: Sprinkled on top to create a rich caramel syrup when combined with hot water.
- 1 and ½ cups hot water: Pouring this over the batter melts the sugars and butter, making the cobbler luscious and saucy.
How to Make 3 Step Oreo Cookie Dump Cobbler
Step 1: Prepare the Butter and Oreo Base
Start by preheating your oven to 350 degrees, ensuring it’s ready to work its magic. Cut your butter into small cubes and scatter them evenly across a 9×13 inch baking pan. Pop the pan in the oven just long enough to fully melt the butter—this rich pool of melted butter is essential for that golden crust texture. Once melted, take the pan out and immediately scatter your crumbled Oreo cookies in a single layer over the butter. This layer of cookies is what gives the cobbler its signature chocolate crunch and irresistibly familiar flavor.
Step 2: Mix and Layer the Batter
In a mixing bowl, whisk together the self-rising flour, granulated sugar, vanilla, and whole milk until you get a smooth batter. Be careful not to over-mix; a few lumps are just fine and will keep the cobbler tender and moist. Pour this batter evenly over the Oreo and butter layer, letting it nestle between the cookie crumbs. The batter acts as a soft, cakey blanket that rises and cooks around the Oreos, creating that signature cobbler texture that everyone loves.
Step 3: Add the Sugars and Bake
Sprinkle the brown sugar evenly over the batter to help create a syrupy backdrop once baked. Now, gently pour the hot water over everything—this might look unusual, but trust the process! The hot water reacts with the butter and sugar, creating a luscious, gooey sauce underneath the cobbler as it bakes. Slide your pan into the oven for 35 minutes, and when it’s done, let it cool and set for about 5 minutes before digging in. The 3 Step Oreo Cookie Dump Cobbler is now ready to wow your taste buds!
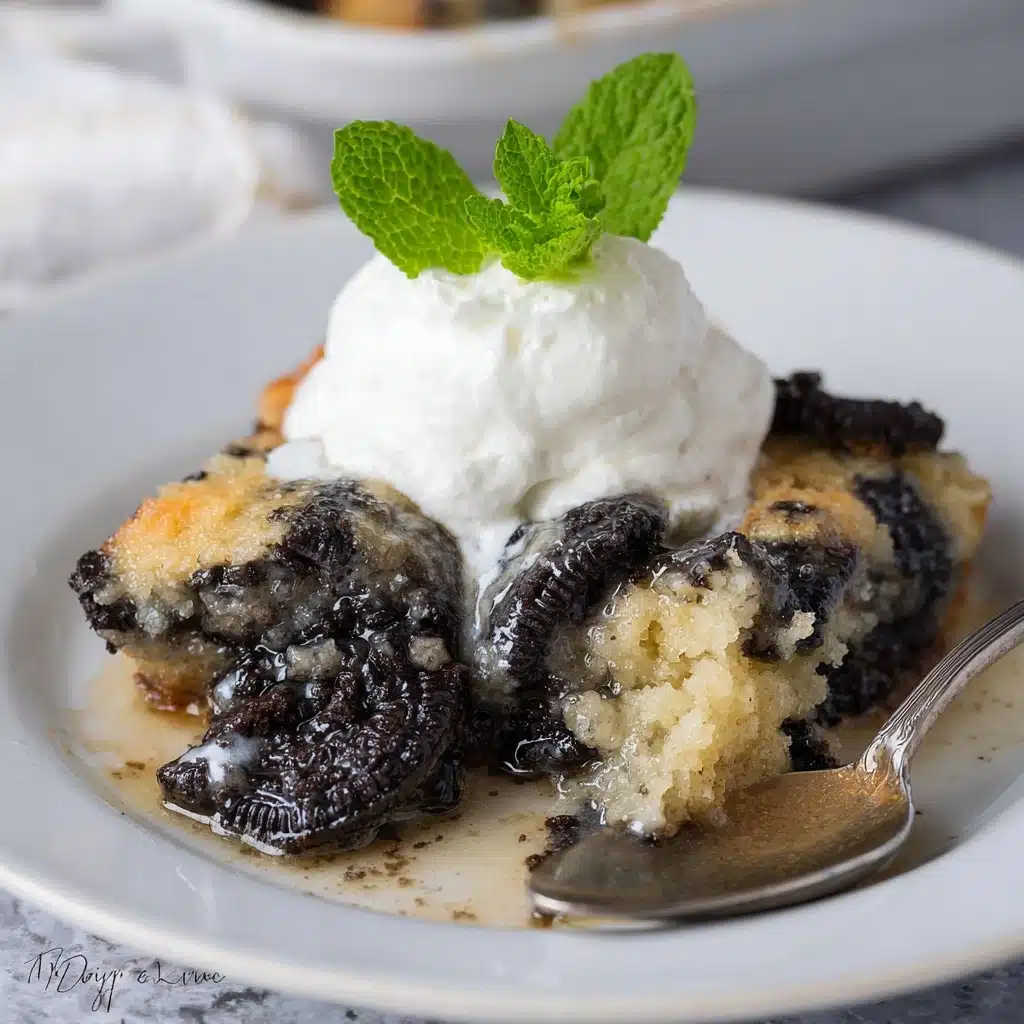
How to Serve 3 Step Oreo Cookie Dump Cobbler
Garnishes
This cobbler is delicious on its own, but if you want to take it up a notch, consider a scoop of vanilla ice cream or a dollop of fresh whipped cream on top. A few extra Oreo crumbs or a drizzle of chocolate syrup add a little flair and extra crunch that pairs wonderfully with the warm, gooey dessert.
Side Dishes
Since this dessert is rich and indulgent, it goes excellently with light and refreshing sides like a fresh fruit salad or sliced berries to balance the sweetness. A hot cup of coffee or a cold glass of milk also make classic companions that help mellow the richness perfectly.
Creative Ways to Present
You can serve the 3 Step Oreo Cookie Dump Cobbler straight from the pan for casual family dinners or spoon it into pretty individual ramekins for parties and gather-ups. Layering it under a clear glass trifle bowl with some whipped topping and crushed Oreos creates a stunning dessert display that’s sure to get compliments. For the ultimate indulgence, add a drizzle of caramel or chocolate sauce right before serving.
Make Ahead and Storage
Storing Leftovers
If you’re lucky enough to have leftovers, cover the cobbler tightly with plastic wrap or transfer it to an airtight container and refrigerate. It will keep well for up to 3 days, though it’s usually so good you won’t have leftovers! Just note the sauce may thicken as it cools.
Freezing
You can freeze the 3 Step Oreo Cookie Dump Cobbler, either before or after baking. Wrap it tightly with foil and plastic wrap to prevent freezer burn. When frozen, it can last up to 2 months, making it a great make-ahead treat for unexpected guests or busy nights.
Reheating
To reheat, thaw the cobbler in the fridge overnight if frozen. Warm it in the oven at 325 degrees until heated through and bubbly—usually about 15 minutes. Avoid microwaving if possible, as the texture may become a bit soggy, but it works in a pinch for a speedy treat.
FAQs
Can I use regular flour instead of self-rising flour?
It’s best to use self-rising flour because it contains baking powder and salt, which help the cobbler rise and develop the right texture. If you only have all-purpose flour, you can make your own by adding 1.5 teaspoons baking powder and 0.5 teaspoon salt per cup of flour.
What type of Oreos work best for this recipe?
Classic Oreos with the cream filling are ideal since the filling melts into the cobbler creating extra gooeyness. You can experiment with flavored Oreos if you want a twist, but the original gives the perfect balance of chocolate and cream.
Is it possible to make this recipe gluten-free?
Yes! Substitute the self-rising flour with a gluten-free self-rising blend, and double-check your Oreos are gluten-free since some varieties are. This swap keeps the texture close to the original.
Can I prepare this dessert ahead of time?
Definitely. You can assemble the cobbler and refrigerate for a few hours or overnight before baking. Just add an extra few minutes to the baking time if it’s chilled straight from the fridge.
What’s the best way to serve leftovers?
Leftover cobbler tastes fantastic warmed up and served with ice cream or whipped cream. Reheat gently to keep the gooey sauce just right.
Final Thoughts
There is something wonderfully comforting about the 3 Step Oreo Cookie Dump Cobbler that makes it perfect for any occasion, whether it’s a casual family dinner or a last-minute dessert to share with friends. The ease of dumping a few ingredients together and popping them in the oven is such a treat for busy bakers who crave rewarding flavor without fuss. I can’t recommend this recipe enough—go ahead, give it a try and enjoy the simple joy of creating a truly decadent dessert in just a few steps.
Print3 Step Oreo Cookie Dump Cobbler Recipe
This easy 3 Step Oreo Cookie Dump Cobbler is a deliciously simple dessert combining rich Oreos with a sweet cobbler batter, baked to perfection. Perfect for a quick treat, it offers a warm, gooey interior with a crispy brown sugar topping, all made in one pan with minimal effort.
- Prep Time: 10 minutes
- Cook Time: 35 minutes
- Total Time: 45 minutes
- Yield: 8 servings 1x
- Category: Dessert
- Method: Baking
- Cuisine: American
- Diet: Vegetarian
Ingredients
Dry Ingredients
- 1 and ½ cups self-rising flour
- 1 cup granulated sugar
- 1 and ½ cups brown sugar
- 12 to 15 Oreos, crumbled
Wet Ingredients
- 3/4 cup whole milk
- 1 teaspoon pure vanilla extract
- 5 tablespoons butter (no substitutions)
- 1 and ½ cups hot water
Instructions
- Preheat oven: Set your oven to 350°F (175°C) to prepare for baking the cobbler.
- Prepare butter in pan: Cut the 5 tablespoons of butter into cubes and place them evenly in a 9×13 inch baking pan.
- Melt butter: Put the pan in the oven and allow the butter to fully melt, coating the bottom of the pan.
- Add Oreo layer: Remove the pan from the oven and scatter the crumbled Oreos randomly in a single layer over the melted butter.
- Mix batter ingredients: In a bowl, combine the self-rising flour, 1 cup of granulated sugar, vanilla extract, and whole milk. Stir gently to combine, being careful not to over-mix to keep the batter light.
- Pour batter over Oreos: Evenly pour the prepared batter on top of the Oreo cookie layer in the pan.
- Add brown sugar topping: Sprinkle the 1 and ½ cups of brown sugar evenly over the batter layer.
- Add hot water: Carefully and gently pour 1 and ½ cups of hot water over the entire pan, ensuring the water distributes evenly over the batter and sugars without disturbing the layers too much.
- Bake: Place the pan in the oven and bake for 35 minutes at 350°F until the cobbler is set and golden.
- Cool and serve: Let the cobbler cool in the pan for 5 minutes to set before serving warm.
Notes
- Use only self-rising flour to ensure proper rising and texture.
- Do not substitute the butter as it plays a crucial role in flavor and texture.
- Be gentle when pouring hot water to maintain the layers intact for the cobbler effect.
- Allow the cobbler to cool slightly before serving for best texture.
- For an extra treat, serve with vanilla ice cream or whipped cream.
Nutrition
- Serving Size: 1 slice (1/8 of recipe)
- Calories: 320 kcal
- Sugar: 40 g
- Sodium: 180 mg
- Fat: 9 g
- Saturated Fat: 5 g
- Unsaturated Fat: 3 g
- Trans Fat: 0 g
- Carbohydrates: 55 g
- Fiber: 2 g
- Protein: 3 g
- Cholesterol: 25 mg
Keywords: Oreo cobbler, easy dessert, dump cobbler, Oreo dessert, quick cobbler recipe