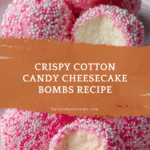
Crispy Cotton Candy Cheesecake Bombs Recipe
Introduction
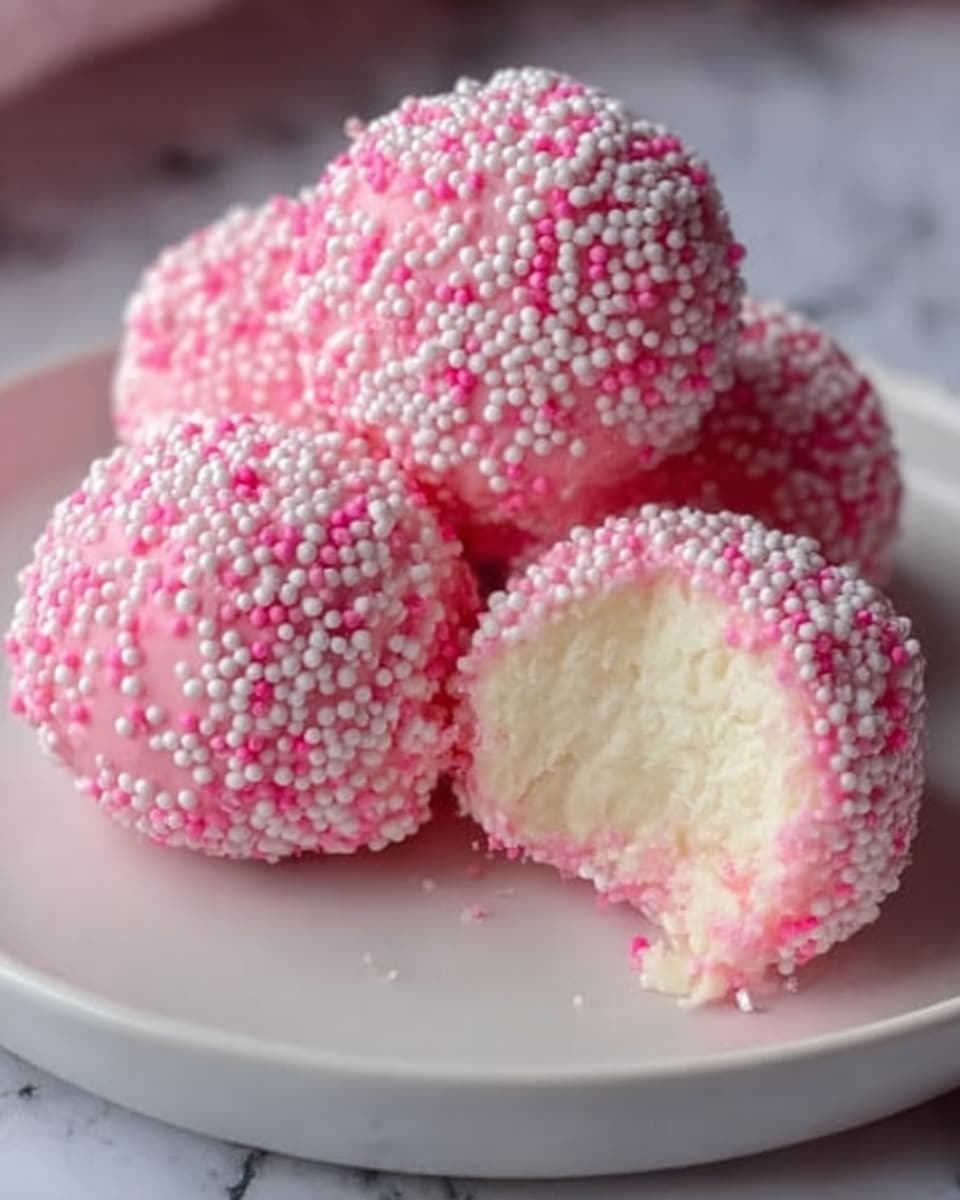
Crispy Cotton Candy Cheesecake Bombs are a delightful treat that combines creamy cheesecake filling with a crispy, sweet exterior. These bite-sized desserts are perfect for parties or a special indulgence, featuring a fun cotton candy twist that’s sure to impress.
Ingredients
- 1 cup cream cheese, softened
- ½ cup granulated sugar
- 1 teaspoon vanilla extract
- 1 cup cotton candy, crushed
- 1 cup graham cracker crumbs
- 2 cups all-purpose flour
- 1 teaspoon baking powder
- ½ teaspoon salt
- 3 large eggs
- 2 cups cotton candy-flavored candy melts
- Oil for frying
- Additional crushed cotton candy for garnish (optional)
Instructions
- Step 1: In a bowl, mix the softened cream cheese, granulated sugar, vanilla extract, and crushed cotton candy until smooth and well combined.
- Step 2: Cover the bowl and refrigerate the mixture for about 30 minutes to firm it up.
- Step 3: In another bowl, combine the graham cracker crumbs, all-purpose flour, baking powder, and salt. Mix well.
- Step 4: Gradually add the eggs to the dry ingredients, stirring until a dough begins to form.
- Step 5: Remove the chilled filling from the refrigerator. Take a small amount of dough and flatten it in your hand. Place a spoonful of the cheesecake filling in the center and wrap the dough around it, sealing it well.
- Step 6: Roll the filled dough into a ball shape and place on a baking sheet lined with parchment paper. Repeat until all the filling is used.
- Step 7: Place the assembled cheesecake bombs in the freezer for about 15 minutes to firm up.
- Step 8: In a deep fryer or large pot, heat oil to 350°F (175°C).
- Step 9: Carefully drop the cheesecake bombs into the hot oil, frying in batches for 2-3 minutes or until golden brown. Remove and drain on paper towels.
- Step 10: Melt the cotton candy-flavored candy melts according to package instructions. Dip each cheesecake bomb into the melted candy, ensuring they are fully coated.
- Step 11: Immediately sprinkle additional crushed cotton candy on top before the coating sets.
- Step 12: Allow the candy coating to harden for a few minutes before serving.
Tips & Variations
- Use fresh cotton candy for the best flavor and texture in the filling and garnish.
- Try substituting the cotton candy-flavored candy melts with white chocolate dyed pastel colors for a different look.
- Ensure the oil temperature stays consistent to avoid greasy or undercooked bombs.
- For a fruity twist, add a small piece of fresh fruit or jam inside the cheesecake filling before wrapping with dough.
Storage
Store leftover cotton candy cheesecake bombs in an airtight container in the refrigerator for up to 3 days. Reheat gently in a warm oven (around 300°F / 150°C) for a few minutes to restore some crispness. Avoid microwaving, as this may melt the candy coating.
How to Serve

Serve this delicious recipe with your favorite sides.
FAQs
Can I bake the cheesecake bombs instead of frying?
Frying gives these bombs their signature crispy exterior, but you can bake them at 375°F (190°C) for 15-20 minutes until golden. They may be less crispy but still delicious.
What can I substitute for cotton candy flavor?
If cotton candy candy melts or cotton candy itself aren’t available, vanilla or white chocolate candy melts work well. You can also add a small drop of cotton candy-flavored syrup to the filling to mimic the taste.
PrintCrispy Cotton Candy Cheesecake Bombs Recipe
Crispy Cotton Candy Cheesecake Bombs are a delightful treat that combines creamy cheesecake filling with a crispy fried dough exterior, all coated in sweet cotton candy-flavored candy melts. These fun, bite-sized desserts are perfect for parties or special occasions, offering a unique twist on traditional cheesecake with an irresistible cotton candy flair.
- Prep Time: 25 minutes
- Cook Time: 10 minutes
- Total Time: 1 hour 5 minutes
- Yield: 12 cheesecake bombs 1x
- Category: Dessert
- Method: Frying
- Cuisine: American
Ingredients
Cheesecake Filling
- 1 cup cream cheese, softened
- ½ cup granulated sugar
- 1 teaspoon vanilla extract
- 1 cup cotton candy, crushed
Dough
- 1 cup graham cracker crumbs
- 2 cups all-purpose flour
- 1 teaspoon baking powder
- ½ teaspoon salt
- 3 large eggs
Coating and Frying
- 2 cups cotton candy-flavored candy melts
- Oil for frying (enough for deep frying)
- Additional crushed cotton candy for garnish (optional)
Instructions
- Prepare the Filling: In a bowl, mix the softened cream cheese, granulated sugar, vanilla extract, and crushed cotton candy until smooth and well combined.
- Chill the Filling: Cover the bowl and refrigerate the mixture for about 30 minutes to firm it up.
- Make the Dough: In another bowl, combine the graham cracker crumbs, flour, baking powder, and salt. Mix well to distribute the ingredients evenly.
- Add Eggs: Gradually add the eggs to the dry ingredients, stirring continuously until a cohesive dough begins to form.
- Divide the Dough: Remove the chilled filling from the refrigerator. Take a small amount of dough and flatten it in your hand. Place a spoonful of the cheesecake filling in the center and wrap the dough around it, sealing it completely to encase the filling.
- Shape the Bombs: Roll the filled dough into a smooth ball shape and place on a baking sheet lined with parchment paper. Repeat the process until all of the filling and dough are used.
- Chill Again: Place the assembled cheesecake bombs in the freezer for about 15 minutes to firm up, making them easier to fry.
- Heat Oil: In a deep fryer or a large, deep pot, heat oil to 350°F (175°C) to prepare for frying.
- Fry the Bombs: Carefully drop the cheesecake bombs into the hot oil in batches. Fry them for 2-3 minutes or until they turn golden brown and crispy. Use a slotted spoon to remove and drain on paper towels to remove excess oil.
- Coat with Candy Melts: Melt the cotton candy-flavored candy melts according to the package instructions. Dip each fried cheesecake bomb into the melted candy, fully coating it for a glossy, sweet finish.
- Garnish: Immediately after coating, sprinkle additional crushed cotton candy on top before the candy melts set to add an extra cotton candy flavor and decorative effect.
- Serve: Allow the candy coating to harden for a few minutes at room temperature before serving these crispy and creamy delights.
Notes
- Ensure the cheesecake filling is well chilled before wrapping with dough to prevent leakage during frying.
- If candy melts are unavailable, colored white chocolate with cotton candy flavoring may be substituted.
- Maintain oil temperature around 350°F to achieve a crispy exterior without absorbing excess oil.
- Use caution when frying and handle hot oil carefully to avoid burns.
- For best texture, consume the bombs shortly after preparation as the coating will harden and the inside remains creamy.
Keywords: Cotton candy cheesecake bombs, fried cheesecake, crispy cheesecake bites, dessert bombs, cotton candy dessert, fried dessert, candy coated cheesecake