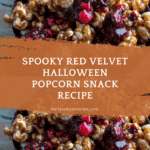
Halloween Snacks Recipe
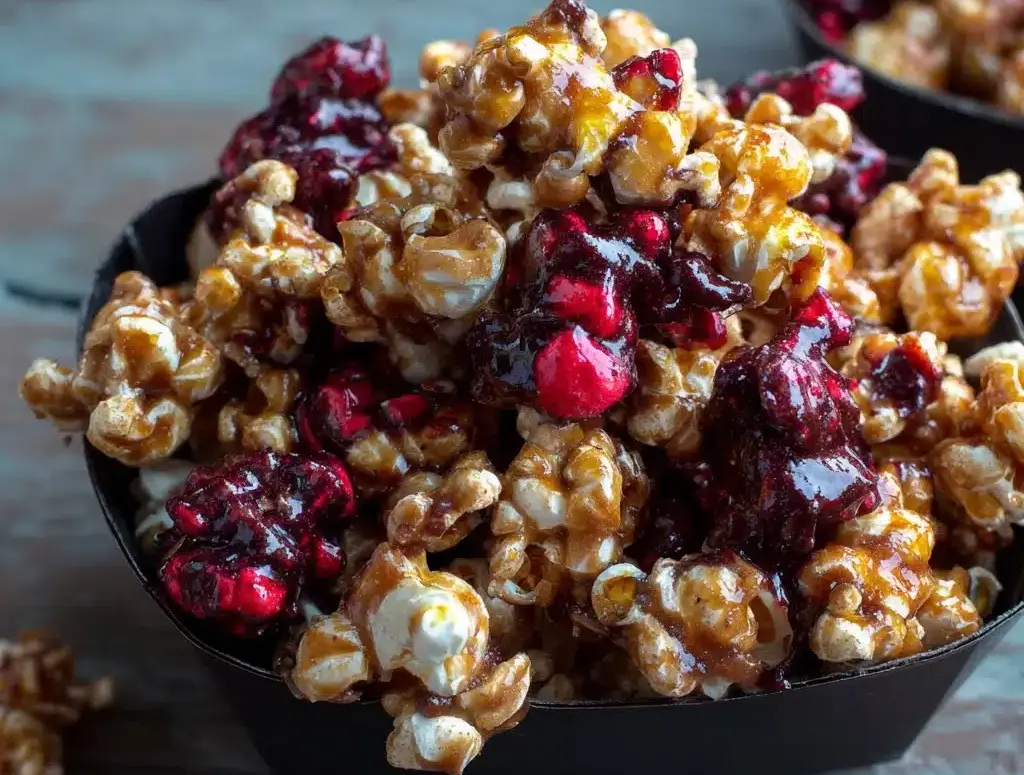
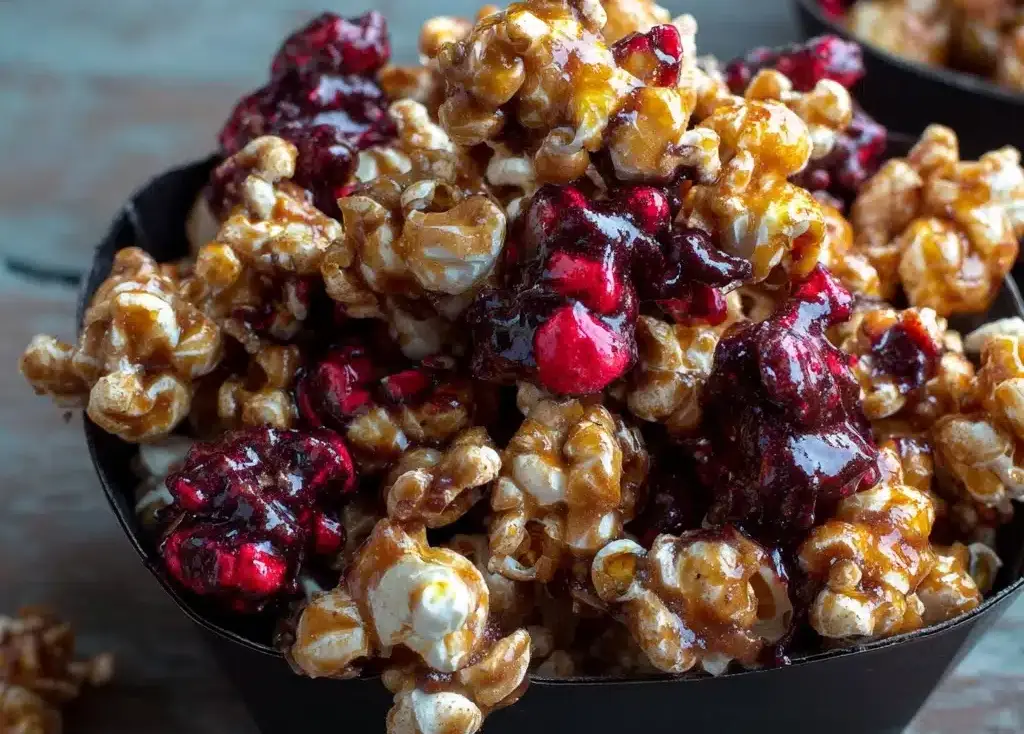
If you’re on the hunt for festive and frightfully fun treats, these Halloween Snacks are just the ticket to delight both kids and adults alike. Picture crunchy, fluffy popcorn transformed with luscious red velvet chocolate and a splash of vibrant red syrup that mimics spooky, dripping ‘blood’—this mix makes for an irresistibly sweet and eye-catching snack. It’s simple to whip up but packs a big punch in flavor and Halloween spirit, perfect for parties, movie nights, or surprise treat bags!
Ingredients You’ll Need
These ingredients are delightfully straightforward yet essential for balancing flavor, texture, and that hauntingly festive color. Each one plays a unique role in creating a Halloween snack mix that’s as tasty as it is fun to look at.
- 10 cups popped popcorn: The crunchy, airy base that’s light and ready to be transformed into a festive treat.
- 1/2 cup red velvet chocolate melts: Adds a creamy, rich coating with that signature red hue and smooth texture.
- 1/4 cup red syrup (grenadine or red icing): For a vivid ‘bloody’ effect that brings a thrilling splash of color and sweetness.
How to Make Halloween Snacks
Step 1: Prepare Baking Sheet
Start with a simple prep by lining a baking sheet with parchment paper. This prevents sticking and makes cleanup a breeze, plus it creates a perfect surface to spread out your popcorn evenly for coating.
Step 2: Spread the Popcorn
Dump your popped popcorn onto the prepared baking sheet and spread it out evenly. This helps when you pour the melted chocolate so that every kernel gets some love and none clump together too much.
Step 3: Melt the Chocolate
Place the red velvet chocolate melts in a microwave-safe bowl and heat them in 30-second intervals, stirring in between. This method ensures a smooth melt without burning, giving you a silky coating that will beautifully envelop your popcorn.
Step 4: Coat the Popcorn
Drizzle the melted red velvet chocolate over the popcorn spread on your baking sheet. Gently stir the popcorn with a spatula or wooden spoon so the chocolate coats each kernel evenly, creating a glossy, festive layer.
Step 5: Add the ‘Bloody’ Red Syrup
Finally, drizzle the red syrup over the covered popcorn for that chillingly realistic dripping blood effect. This step isn’t just about looks—it adds an extra burst of sweetness and a tantalizing tang that contrasts beautifully with the chocolate.
Step 6: Let Chocolate Set
Allow the popcorn to rest at room temperature or place the baking sheet in the fridge until the chocolate hardens. This step ensures that the coating firms up nicely so your Halloween Snacks hold together perfectly and are ready to serve.
How to Serve Halloween Snacks
Garnishes
Sprinkle a few edible Halloween-themed decorations, like candy eyeballs or orange sprinkles, on top before the chocolate sets. This adds an extra dose of fun and personality, making your snack truly stand out and delight guests.
Side Dishes
Pair these Halloween Snacks with savory finger foods like mini hot dogs or cheesy spider web dip to create a well-rounded spooky spread. The sweet and salty combo will keep your taste buds intrigued and guests coming back for more.
Creative Ways to Present
Serve the popcorn in clear glass jars or little paper bags decorated with Halloween motifs like bats or pumpkins. You can also put portions in mini cauldrons for a magical touch that amps up the festive vibe at any gathering.
Make Ahead and Storage
Storing Leftovers
Keep your Halloween Snacks fresh by storing them in an airtight container at room temperature. This keeps the popcorn crisp and the chocolate coating intact for up to 3 days, perfect if you want to prepare in advance or have some treats left.
Freezing
While freezing isn’t ideal for this snack, you can freeze it in airtight bags for up to 2 weeks if necessary. Just make sure to thaw completely at room temperature to avoid condensation, which might make the popcorn soggy.
Reheating
These snacks are best enjoyed as-is rather than reheated. If they’ve lost some crispiness, gently warming them at a low temperature in the oven for a few minutes can help refresh the crunch and melt the chocolate slightly for a cozy treat.
FAQs
Can I use regular chocolate instead of red velvet chocolate melts?
Absolutely! Regular chocolate works fine, though you’ll miss out on the signature red color. You can add a little food coloring to mimic the festive hue or use white chocolate for a different but equally delicious twist.
Is the red syrup necessary?
The red syrup is key to creating that iconic spooky ‘bloody’ look and adds a lovely tart sweetness. If you can’t find grenadine or red icing, you can try raspberry syrup or pomegranate molasses for a similar effect.
How do I keep the popcorn from getting soggy?
Spread the popcorn out well while coating and avoid excessive syrup. Making sure the chocolate sets completely before storage helps maintain that great crunch we all want in our Halloween Snacks.
Can I make these snacks gluten-free?
Yes! Popcorn is naturally gluten-free, and most red velvet chocolate melts and syrups are too, but always check labels to be certain, especially if you or your guests have sensitivities.
How long does it take to make these Halloween Snacks?
Including melting and setting time, you’re looking at about 30 to 40 minutes total. It’s a quick and easy recipe that still looks like you spent hours crafting something special.
Final Thoughts
These Halloween Snacks are a wonderful way to bring excitement and flavor to your spooky celebrations with minimal fuss and maximum charm. Whether you’re hosting a party or just want a fun treat for yourself, give this recipe a try—it’s sure to become a new favorite every October!
PrintHalloween Snacks Recipe
This spooky Halloween snack features crispy popcorn coated in melted red velvet chocolate and drizzled with red syrup to create a festive and delicious treat perfect for Halloween parties or movie nights.
- Prep Time: 10 minutes
- Cook Time: 5 minutes
- Total Time: 15 minutes
- Yield: 6 servings 1x
- Category: Snack
- Method: Melting and Coating
- Cuisine: American
- Diet: Vegetarian
Ingredients
Popcorn
- 10 cups popped popcorn
Chocolate Coating
- 1/2 cup red velvet chocolate melts
Decoration
- 1/4 cup red syrup (grenadine or red icing)
Instructions
- Prepare Baking Sheet: Line a baking sheet with parchment paper to prevent the popcorn from sticking and make cleanup easier.
- Spread the Popcorn: Evenly spread the popped popcorn over the parchment-lined baking sheet to create a single layer.
- Melt Chocolate: Place the red velvet chocolate melts in a microwave-safe bowl and heat in 30-second intervals, stirring well after each interval until the chocolate is fully melted and smooth.
- Coat Popcorn: Drizzle the melted red velvet chocolate evenly over the popcorn. Gently stir or toss the popcorn to ensure each piece is coated with the chocolate.
- Add Syrup: Carefully drizzle the red syrup, such as grenadine or red icing, over the chocolate-coated popcorn to create a ‘bloody’ effect that’s perfect for Halloween.
- Set Chocolate: Allow the coated popcorn to sit at room temperature or in the refrigerator until the chocolate hardens and sets, making it easier to serve and enjoy.
Notes
- Use parchment paper to prevent sticking and for easier cleanup.
- If you don’t have red velvet chocolate melts, you can use white chocolate with red food coloring.
- The red syrup adds a fun, festive touch but can be omitted if preferred.
- Store leftovers in an airtight container to maintain freshness for up to 3 days.
- For added texture, consider mixing in some nuts or candy pieces.
Nutrition
- Serving Size: 1 cup
- Calories: 110
- Sugar: 9g
- Sodium: 50mg
- Fat: 5g
- Saturated Fat: 3g
- Unsaturated Fat: 2g
- Trans Fat: 0g
- Carbohydrates: 15g
- Fiber: 1g
- Protein: 1g
- Cholesterol: 5mg
Keywords: Halloween snacks, popcorn recipe, red velvet popcorn, spooky treats, party snack