Mini Valentine Cheesecakes with Oreo Crust and Pink Color Recipe
Introduction
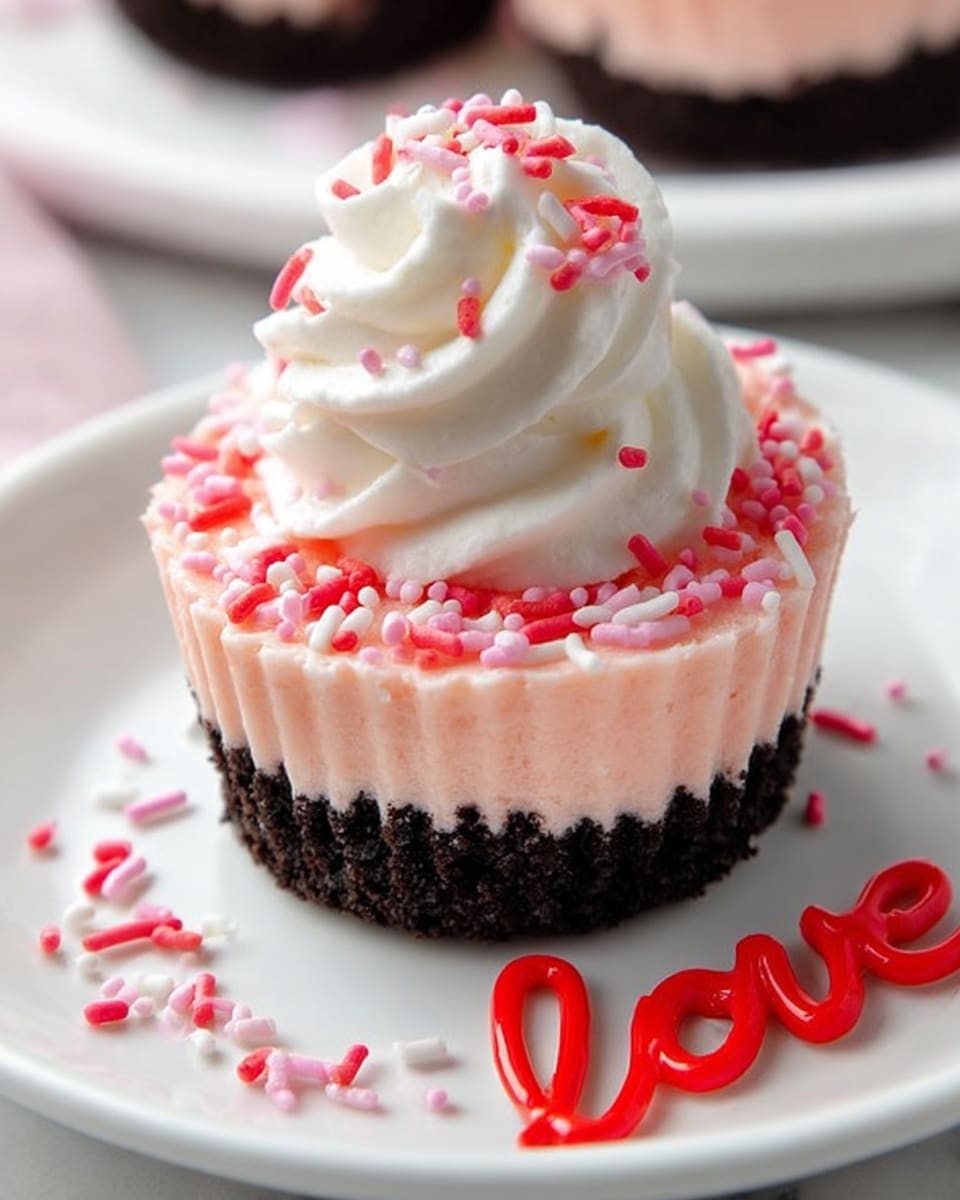
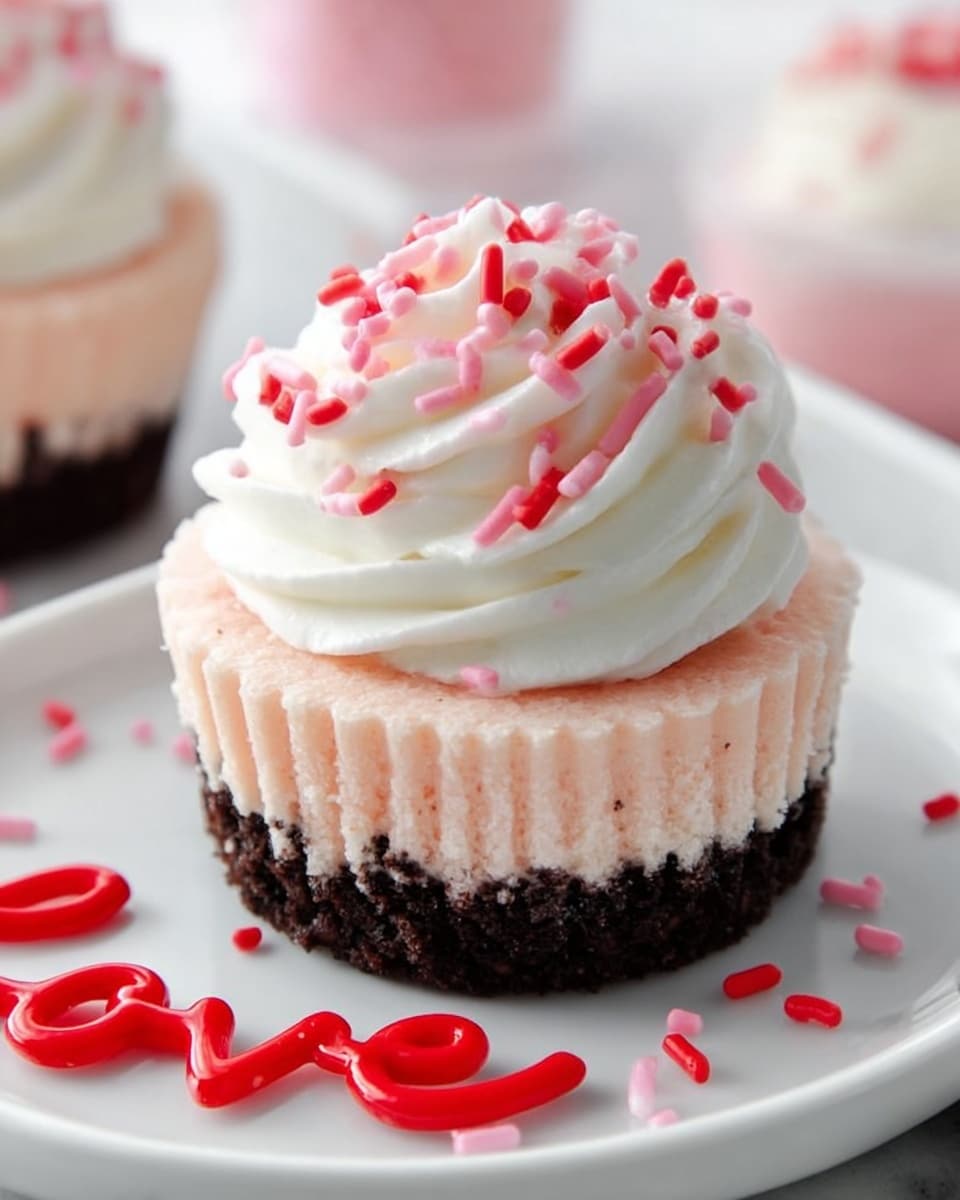
These Mini Valentine Cheesecakes are the perfect sweet treat for a romantic occasion or any time you want to share a bit of love. Creamy, colorful, and topped with festive sprinkles, they’re easy to make and sure to impress.
Ingredients
- 2 (8 oz) Cream Cheese, softened
- 1/2 cup Sugar
- 2 Eggs
- 1 tsp Vanilla
- Red Food Coloring
- Whipped Cream, optional
- Valentine Sprinkles, optional
- 1 cup Oreo Crumbs
- 2 1/2 tbsp Butter, melted
Instructions
- Step 1: Preheat your oven to 350 degrees Fahrenheit and line a cupcake pan with paper liners.
- Step 2: Pulse about 10-11 Oreos in a food processor until crumbly. Add the melted butter and pulse again until the crumbs are well combined and slightly damp.
- Step 3: Evenly divide the Oreo crumbs into each lined cupcake cup and press them firmly to form the crust layer.
- Step 4: In a medium bowl, beat the softened cream cheese and sugar together until smooth and creamy. Then beat in the eggs and vanilla extract until fully incorporated.
- Step 5: Add red food coloring a little at a time, mixing until you reach your desired pink shade.
- Step 6: Spoon about 1/4 cup of the cheesecake mixture into each crust-lined cup, filling them evenly.
- Step 7: Bake for 15-17 minutes, until the centers are just slightly jiggly but set. Remove from the oven and allow to cool completely in the pan, then refrigerate until firm.
- Step 8: Before serving, top each mini cheesecake with whipped cream and Valentine sprinkles if desired for a festive touch.
Tips & Variations
- Use full-fat cream cheese for the creamiest texture. For a dairy-free option, try a vegan cream cheese substitute.
- Add a drop of lemon juice to brighten the cheesecake filling’s flavor.
- Swap Oreo crumbs for graham cracker crumbs if you prefer a milder crust.
- For a richer color, gel food coloring works better and won’t thin the batter.
Storage
Store the mini cheesecakes in an airtight container in the refrigerator for up to 4 days. They can also be frozen for up to 2 months—thaw overnight in the fridge before serving. Avoid topping with whipped cream until ready to eat to prevent sogginess.
How to Serve
Serve this delicious recipe with your favorite sides.
FAQs
Can I make these mini cheesecakes ahead of time?
Yes, you can prepare and bake the mini cheesecakes a day or two in advance, storing them in the refrigerator until ready to serve. Add whipped cream and sprinkles just before serving for best presentation.
What if I don’t have a food processor for the crust?
You can place the Oreo cookies in a sealed plastic bag and crush them with a rolling pin until finely ground. Then mix with melted butter to form your crust.
PrintMini Valentine Cheesecakes with Oreo Crust and Pink Color Recipe

These Mini Valentine Cheesecakes are a delightful and festive treat perfect for celebrating love. Featuring a creamy, smooth cheesecake filling tinted with neon red food coloring atop a buttery Oreo crumb crust, these bite-sized desserts are easy to make and wonderfully charming. Finished with optional whipped cream and Valentine sprinkles, they’re ideal for parties, gifts, or a special dessert.
- Prep Time: 15 minutes
- Cook Time: 17 minutes
- Total Time: 3 hours 32 minutes
- Yield: 12 mini cheesecakes 1x
- Category: Dessert
- Method: Baking
- Cuisine: American
Ingredients
Crust
- 1 cup Oreo Crumbs (about 10–11 Oreos)
- 2 1/2 tbsp Butter, melted
Cheesecake Filling
- 2 (8 oz) packages Cream Cheese, softened
- 1/2 cup Sugar
- 2 Eggs
- 1 tsp Vanilla Extract
- Red Food Coloring (to desired pink color)
Toppings (Optional)
- Whipped Cream
- Valentine Sprinkles
Instructions
- Preheat Oven and Prepare Pan: Preheat your oven to 350°F (175°C). Line a cupcake pan with cupcake liners to prepare for baking.
- Make the Crust: Using a food processor, pulse about 10-11 Oreo cookies until they become fine crumbs. Add the melted butter and pulse again until the mixture is thoroughly combined and resembles wet sand.
- Form the Crusts: Evenly distribute the Oreo crumb mixture among the cupcake liners. Press the crumbs firmly into the bottom of each liner to create a solid crust base.
- Prepare the Cheesecake Filling: In a medium-sized bowl, beat the softened cream cheese and sugar together until the mixture is smooth and creamy. Add the eggs one at a time, mixing well after each addition, followed by the vanilla extract. Then blend until fully incorporated.
- Add Color: Mix in red food coloring gradually until you reach a neon pink color that is vibrant and festive.
- Fill the Cups: Spoon about 1/4 cup of the cheesecake filling evenly into each cupcake liner over the Oreo crusts.
- Bake: Bake the cheesecakes in the preheated oven for 15-17 minutes. The centers should still be slightly jiggly when done; this ensures a creamy texture. Remove the pan from the oven and allow cheesecakes to cool completely in the pan.
- Chill: Once cooled to room temperature, refrigerate the cheesecakes until they are fully firm, about 2-3 hours.
- Add Toppings and Serve: Before serving, optionally top each mini cheesecake with whipped cream and Valentine-themed sprinkles for an extra festive touch.
Notes
- Ensure the cream cheese is softened to room temperature for the smoothest batter and best texture.
- Do not overbake; the center should remain slightly jiggly to keep the cheesecakes creamy.
- For a deeper red color, add food coloring gradually, as a little goes a long way.
- These cheesecakes can be stored in an airtight container in the refrigerator for up to 3-4 days.
- You can substitute Oreo cookies with other chocolate sandwich cookies if desired.
Keywords: Valentine, mini cheesecakes, Oreo crust, cream cheese, pink cheesecake, festive dessert, holiday dessert, bite-sized cheesecake